Showing posts with label Basic Grey. Show all posts

Thursday, March 21, 2013

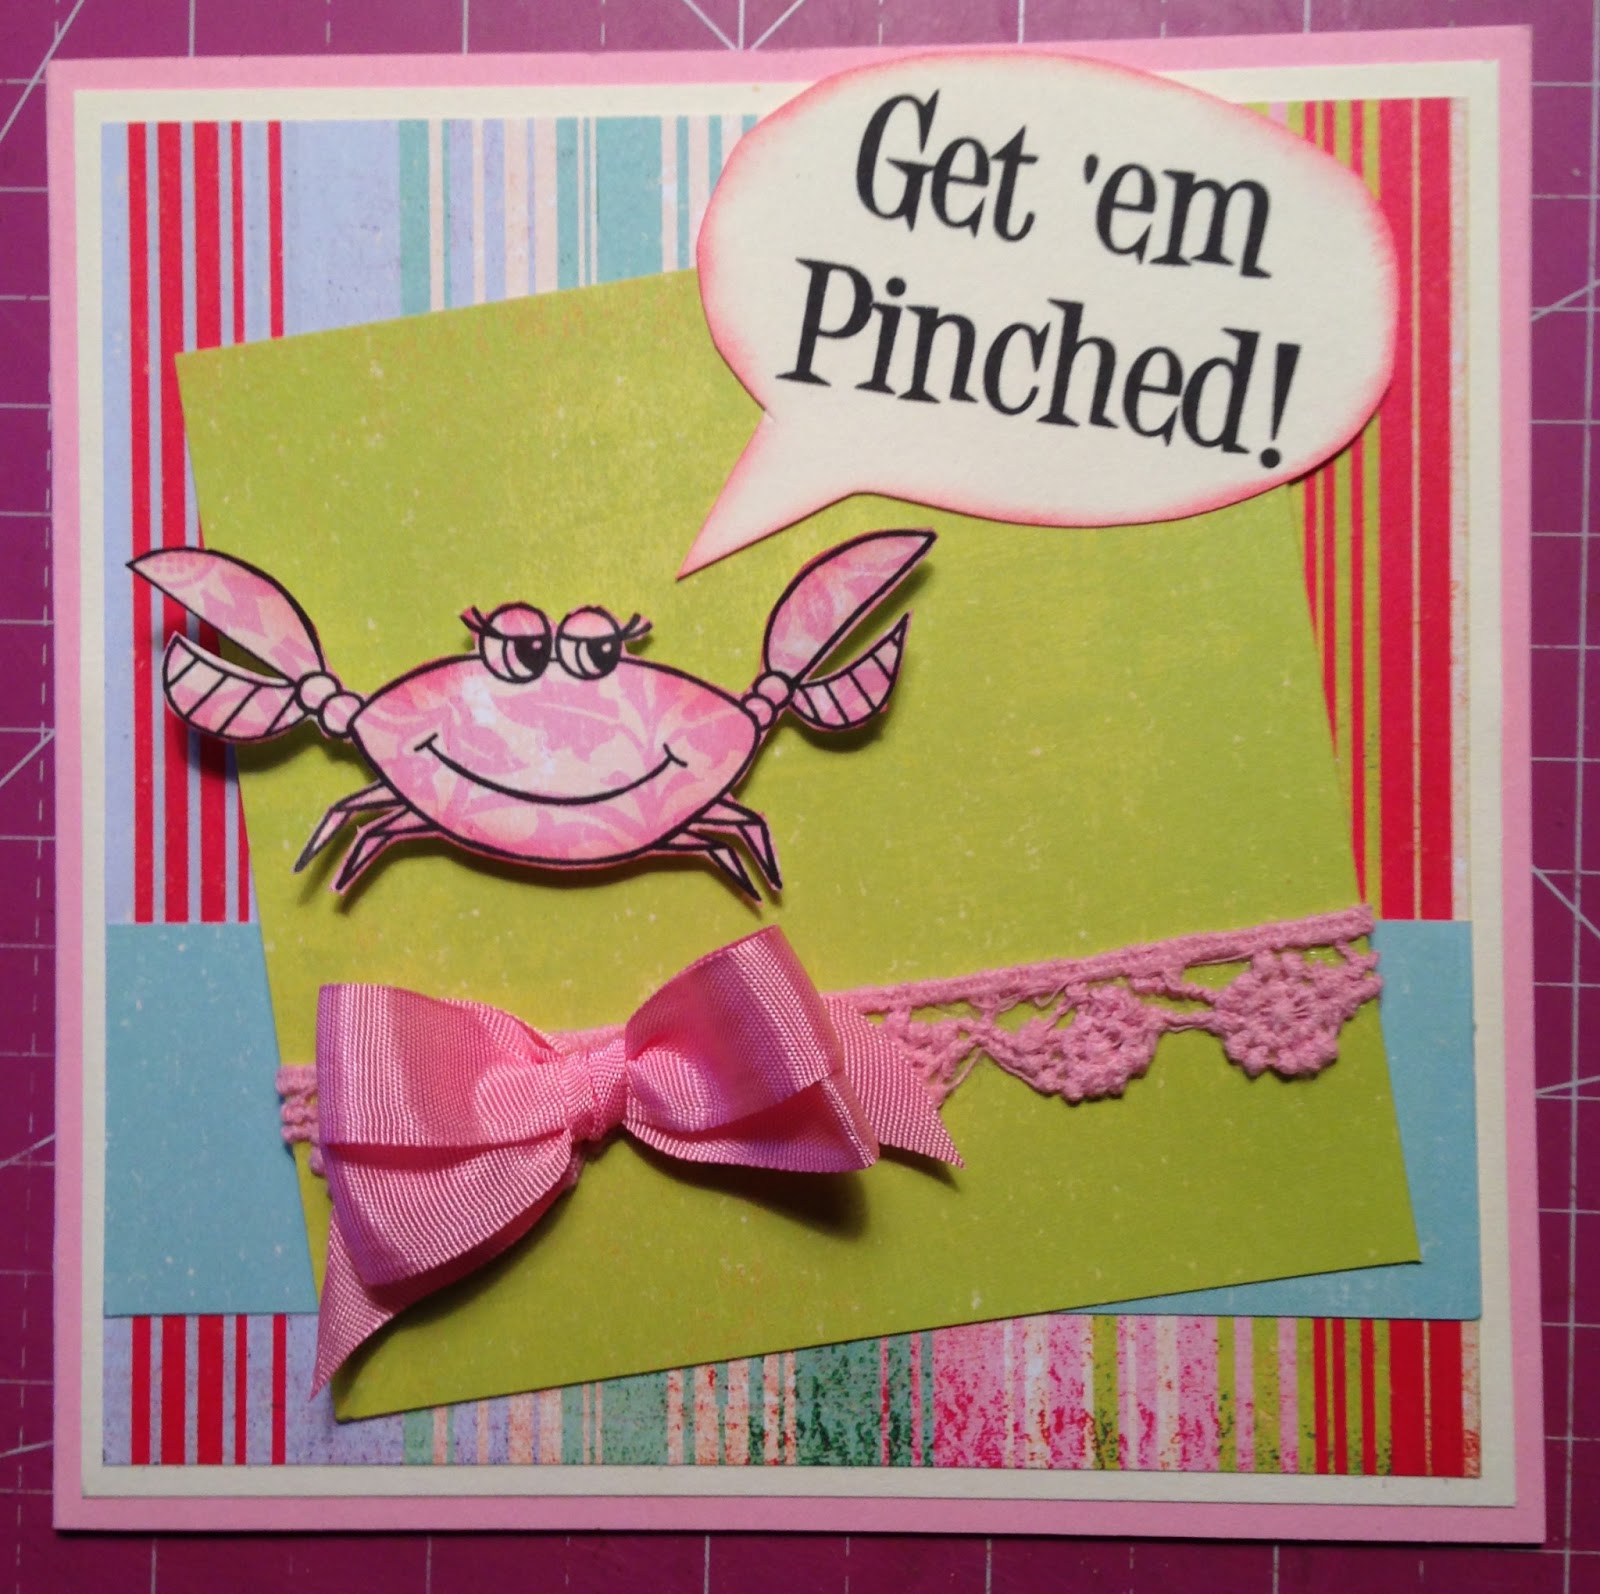
Get 'Em Pinched

Welcome to the Studio!

It's an exciting day here.  Today is the day that Link Up For Pink Challenge 11 begins!  Woo Hoo!  Our sponsor for this challenge is Fresh Brewed Designs and the prize up for grabs is three digi images plus a bonus prize!

For my project, I used "Not So Crabby Crab" from Fresh Brewed.  She's a cute, sassy crab.  That's why I like her.  And she has an important message to share with all of you.  Be sure to remind all those special ladies in your life to get those mammograms!


Here is the inside of my card...


Thanks so much for stopping by today.  Now it's time for you to get your crafty mojo going and enter your card, layout, page, or décor item for Challenge 11!  Remember, it has to have a dash of pink.


Thursday, June 28, 2012

Steamy Steampunk

Welcome to the Studio!
I have a very different card to share with you today.  I haven't done too much in the way of steampunk, only a small, framed wall hanging for a friend.  I'm normally into the cute, sassy, lots of flowers and ribbon, vintage kind of stuff.  For trying something outside of my comfort zone though, I think it turned out pretty well.

I adore "Lady Victoria" from Kenny K.  She's a digi stamp and just too awesome along with tons of their stamps.  I can't wait to get more.  I had fun playing with all the metal stuff and those acrylic flowers too.

I'll be entering this card into a few challenges...
This will be the second card for the Sweet Sunday Sketch Challenge #161.  I used the sketch and just modified it a bit to make room for all the metal.  My first submission for this challenge is here.

Next, I'll be entering Basic Grey Challenges #71, favorite color combo.  I will admit the only reason I bought BG Periphery is because of the lime greens and blues.  It's one of my faves.

And another, 2 Sisters Challenge Blog #97, Anything Goes.  Even if you don't play along, there are tons of fabulous cards, layouts, and projects on all of these challenge blogs, so go check them out.  You never know where inspiration could be hiding.

My Supply List:
Paper:  Basic Grey, Periphery
Inks:  Not Quite Navy, Crumb Cake & Chocolate Chip, Stampin Up
Digi Stamp:  Lady Victoria by Kenny K
Stamp:  "Just For You" by Justrite Stampers
Seam Binding:  from stash
Flowers & Bling:  Close To My Heart, Heirloom Assortment.
Metals:  Cogs and Chain with Clasp, Spare Parts by Paper Studio from Hobby Lobby
Punch:  Stampin Up bracket label
Other:  watercolor paper and watercolor pencils

A lot of my non-papercrafting friends want to know what I do with all those cards I make.  My mom and I teach a cardmaking class once a month at our church.  Since they do not charge us for anything, we donate just about all the cards we make ourselves to our church and have handmade cards for sale all the time.  Our church keeps all the proceeds and we don't have to rent a 20x20 storage building to store all our cards.  This particular card, however, will not be showing up on the rack at church;)

Thanks so much for visiting today.  Until next time, Scrap Sassy!

Monday, June 25, 2012

Around We Go!

Welcome to the Studio!

I wanted to share a new layout I just finished.  My husband and I were at Zoo Atlanta a few years back and he took some really sweet (and silly) shots of me riding the Merry-Go-Round.  I'm not the most organized scrapper.  I don't work on layouts chronologically.  I work on what I "feel" like working on, which basically equates to pictures of the dogs and carving jack-o-lanterns taking precedence over everything else;)

I  began with a sketch by Becky Fleck from her PageMaps 2 book.  I just love her two sketch books.  They both come with a neat set of cards that feature the sketch on one side and a sample layout on the other.  It's perfect to slide into your page planner to get ready for a crop.  Talk about making everyone THINK you're organized;)  Okay, so here's my layout:


On this layout, I was a totally a rub-on fanatic.  All the pattern papers, tags & rub-ons are Foof-ala Summer Collection by Autumn Leaves.  I wish they were still around.  I just loved all the papers and accessories.  So speaking of all those rub-ons, here's a few close-up shots.


And yes, those are ALL rub-ons.  They came out so good, you'd think it was part of the pattern paper.


More rub-ons and handstitching.  I stamped the lines for my journaling for a "stitched look" to tie everything together.


This is a close-up shot of what my title decoration looked like.  I even added rub-ons to the chipboard alphas to make them "match."

I had so much fun making this layout.  It really brought back memories of a bright, sunny spring day and all the fun we had.  Plus, I just adore Merry-Go-Rounds.

I'm planning on entering this layout in two challenges.  The first is Use Your Stuff  #39, Sew Many Possibilities.  This is my second time joining in the fun on that blog.  I love seeing all the wonderful artwork.

The second challenge is for Clear It Out Challenges.  The current challenge is two or more ribbons/fibers.  I used the blue ribbon under my title and also tied knots on my tag.  My second ribbon is all the stitching with floss/twine.  They have a great sponsor for this challenge, Bugaboo Stamps, and you could win seven free digis!  My mom, Joanie's Classy Card Corner, uses Bugaboo Stamps all the time on her cards.  The "senior" images are my favorites;)

Supply List:
Most of this stuff is REALLY OLD!
Pattern Paper, Tags & Rub-ons:  Foofala Summer Collection, Autumn Leaves
Cardstock:  CTMH, Pacifica
Chipboard Letters:  Lil Davis Designs
Ribbon/fibers:  from stash
Ink:  CTMH, Pacifica
Stamps:  CTMH, Comments, Dates
Other:  Stitching template, Bazzill Basics; Rub-on tool, Basic Grey.

Thanks for stopping by.  I hope you enjoyed your visit.  Until next time, Scrap Sassy!

Just Laugh

Welcome to the Studio!

Well, I said in an earlier post that I was a layout-making fool this past week.  Here's another one I finished the other day.  I've had this handful of pictures that I didn't know what to do with.  It's photos of my Mom and I at the Georgia Renaissance Festival a few years ago doing our usual goofing off, joking around, and constantly smiling and laughing.  That's us.  We get along like two kids and we're always picking on each other and laughing our butts off.  Plus, it's great when you get to "that age" where your mom can't/won't ground you anymore;)  Or at least if she does ground me, I'll get sent to our scraproom...oh, no!  That's like sending a little kid to Disney;)


I used Basic Grey  Lemonade that I got from the clearance rack at Hobby Lobby.  What can I say?  I'm a paper hoarder in every sense of the term and a bargain hunter to boot.  How can you turn down an entire pack of BG for $6.83?  I stamped "Just" on the little flower tags and tied them to some puffy pink tulle.  The "Laugh" banner is attached together with pink ricrac.  It's a really cute, kinda silly layout just like me & mom.

Also, while I was trying to figure out what the heck to do with this pictures, I found a sketch challenge blog and it just so happened the sketch was perfect my pics!

And now I'm stuck like glue to Stuck On U Sketches!  They have some fantastic sketches and an awesome design team.  It's amazing how many different ways this sketch can be translated.  This is my first time playing along with them over at Stuck On U, but it won't be my last.

My Supply List:
Paper:  Basic Grey, Lemonade
Ink:  CTMH Pear
Ribbon, etc:  Pink tulle and seam binding, from stash;
                      Pink & white baker's twine, We R Memory  Keepers
Flowers:  Recollections/Michaels
Butterfly:  Lost & Found, jewelry section, Michaels
Tags:  Flowers, misc.; Banners, Silhouette and converted for use with MTC & Zing
Journaling Block:  Anna Griffin, Carmin

Thanks so much for stopping by and don't forget to check out Stuck On U Sketches.

Until next time, Scrap Sassy!

Wednesday, February 23, 2011

Has Spring Sprung?

Is it too good to be true? Could all the icky, snowy, cold weather be over? Even if it isn't, there's a page in my scrapbook where it's always springtime. Keeping in mind that I'm way behind on my scrapping, these photos were taken back in 2004 when my husband and I went on a mini vacation for our one year anniversary. Keith is a dynamo with a camera. He took the three square photos of these beautiful pink lilies.


I bought some Basic Grey paper a while back and I've been dying to use it, but didn't know with what. This is the Sultry collection. Don't you just love the colors? They just scream happiness and spring to me. I wanted to play with my iRock tool, so I added a swirly-curly photo corner with some bling. I needed a floral embie for my page and since I didn't have a silk lily on hand, I decided to make one out of paper. I used a Heartfelt Creations leaf die to cut the individual petals. I inked, stippled, and dotted the leaves, then I added LOTS of "Sassy Shimmer Spritz" in Sassy Hot Pink. (The recipe is on a previous post.) I used Art Glitter Designer Adhesive to hold the green beads and the stamens in place. It dries totally clear. Need easy flower parts, check the bridal section at your local craft store for stamens.


Other projects on my scrapdesk at the moment include a pumpkin carving layout and three really cool card class projects. Don't forget, card class is March 5th at Messiah Church in the fellowship area from 9:30-11:30. Don't miss out on the fun. RSVP today by email or just comment on my post. We'll also be cropping from 10-6 and I'll be hosting a Cricut Swarm and doing a tips and tricks session as well as a Make the Cut demo. Wanna learn to make some awesome flowers? During the crop, I'll be doing a few flower tutorials as well!

Thursday, December 9, 2010

Christmas Card Idea #4...O, Christmas Tree!


I was working in the Sassy Studio yesterday coming up with some cool card designs and everything I did had a tree on it. I guess you could say I had a "Tree-mendous" day. Okay, enough with the silly puns. I made two versions of the same card design. Here's the initial design...


I'm still using the CTMH Mistletoe collection. I promise I'm going to be change collections real soon. There's some Basic Grey calling out to me from my stash. This is a tricky little tree to make, but once you get the hang of it, it's easy. It's just a folded half circle. If you're using a cutting system like Coluzzle or Creative Memories, you can cut a whole circle and then cut it in half on your trimmer. Then you have enough for two cards. That's like multi-tasking :)

For the bow (and this is SOOO SIMPLE), just take a length of ribbon and make a double loop (four loops total). This is a NO TIE bow! Hold your pieces together in the middle and insert the ribbon in between the prongs of a brad. You can also use a button and baker's twine or embroidery floss. You would do that by taking the floss/twine and making a knot around your ribbon loops, thread the floss/twine through the button holes and tie a double knot or a bow. Both ways look really cute.

If you'd like more detailed instructions or a folding diagram for the Folded Christmas Tree, please email me or leave your email in a comment.

Now for the second design...


For mass production or the folding-challenged (and I'm one of them), I replaced the folded tree with a diecut tree. These trees are in the Silhouette store. You can cut them out with the electronic machine of choice. I always use my Cricut. I also added a bow to the side for a little different look. (I added the ribbon to the card and then tied a separate piece into a bow and attached with a glue dot.) The shaped layer is one of Penny Duncan's Shaplies sized to fit the card, which you can download for FREE at http://pennyduncancreations.blogspot.com/. It's cut out of plain CTMH ivory cardstock. I took a sheet music background stamp and stamped it in CTMH chocolate ink. I then too a sponge dauber that I'd been using, and without applying more ink, I smudged the edges for a distressed look.

Thanks for stopping by and have a Sassy Scrappy Day!

Monday, December 6, 2010

Third Day of Christmas Card Idea and a Shout Out

I just want to say THANK YOU to all the wonderful ladies that attended the card class and crop on Saturday. We had such a good time! I just love getting together with you all.  Sadly, we're not meeting in January, since the first Saturday in January is New Year's Day.  Being dedicated scrappers, we need to be with family and friends taking pictures and making memories to preserve; right? We'll be meeting again on February 5th, 2011 and there will be some scrap-a-riffically sassy Valentine's Day cards and projects.  I'm so excited I can't wait!


Now on to the matter at hand, our Christmas card idea...

I just adore the new CTMH Mistletoe Paper Pack that's available this year. It really has an old-time, traditional, country Christmas kind of feel to it, and it's perfect for a distressed card or layout design. I used an edge distressing tool to "rough up" the edges, added cranberry ink (with a dauber) to the card base for a little extra touch, and a button with gold ribbon. The card's finished size is 4.5 x 4.5. I just love square cards! I think they're cute, cute, cute!  Another idea would be to use burlap as a photo corner or instead of paper or jute for a bow.  That would give the card a old-fashioned, country feel.

Since I've been really late getting my posts up, I figure you guys deserve a little bonus for being so patient. Here is a layout I finished recently about my husband, Keith. He loves stocking stuffers, all those little silly, cheap gifts like oranges, chapstick, bags of walnuts, socks, pens, candy. I've even put his favorite year-round dessert, Cinnamon Pinwheels, stored in a tin inside his stocking. Last Christmas, while Mom and I were shopping at Kmart, we found this ridiculously large stocking and decided Keith had to have it. We stuffed it with everything and anything we could find, Alabama championship t-shirts, a huge pack of shop towels from Sam's, you name it! And I used my Cricut to create a tag in just the right size for this HUGE stocking.

I used papers from two of Basic Grey's collections, Dasher and Fruitcake.  I just love the distressed look of the papers.  I don't have to do anything to them :)  The acrylic frame and poinsettia are from Making Memories.  I found some olive green silk ribbon which I attached to a chipboard tag.  It was raw chipboard that I painted to match my page.  I stamped the word "Christmas" on it with brown Staz-on.  The journaling block is a stamp from Making Memories.  I stamped on white paper, then distressed with a stippling brush with both blue and brown ink.  I added an American Crafts chipboard tag as well.  The satin stocking is an ornament from Wal-mart.  I like to look in places other than craft and scrapbooking departments for embellishments.  The title "Stuffed" is chipboard glitter letters from Target's $1 bin.  I always make sure to stop by Target at least once a month to see what's new in the bargain bins.  I almost never go away empty handed.  The last time I was there, I found lime green metal mesh wastebaskets for $2.50 each.  They are perfect for my scraproom.  I have two!

Thanks for stopping by and I'll be back soon with more sassy scrapper fun!