Tuesday, June 28, 2011

Independence Day Revelry!

Welcome to the Studio!


It's time to celebrate our freedom and our country once again. Don't you wish every day could be the 4th of July? Ice cream, hotdogs, fireworks, and family fun. Remember to capture all your memories so they can be preserved for years to come. And don't forget to say "Thank You" to a veteran or active serviceperson. They continue to make it a holiday worth celebrating.


One of our family's memories is running a firecracker stand in the mid-seventies. I still have one of the t-shirts that my dad screenprinted to commemorate the bicentennial with Mac's Fireworks, followed by a silly saying. I also remember being just tall enough to reach the "poppers," the little firecrackers that you throw, and when they hit the ground, they pop. I must have popped a few thousand of those when I was growing up. My Grandma Julie would spend hours on the back porch of her house lighting smoke bombs and "snakes" for my joy and delight. And let's not forget my yellow plastic swimming pool on that same back porch that I'd spend most of my summer splashing in. Sometimes the only way she'd get me to take a bath was throw soap in the pool:) Those were the "good ole days."


I've got several years of July 4th memories to get into my scrapbooks, so I'm planning on organizing those and starting on some layouts during the long weekend. I thought I'd share some of my patriotic layouts with you, although some are not 4th of July. Let's begin with the year 1976. It was bicentennial fever here in America and the local portrait studio was no exception.


That's me at three with my Mom. Ain't she pretty?


The next layout I want to share is our visit to the oval office, sort of...


My husband is a history teacher. Even though he's no longer in the classroom, he IS still a history teacher. He reminds me of that regularly;) That being said, he takes us to some fun, albeit, historical places for vacations and getaways. If you like American History, be sure visit the American Village in Montevallo, Alabama. They have a huge to-do every July 4th with fireworks and historical "celebs" making appearances. My husband couldn't resist getting his photo taken behind the desk of this replica Oval Office. The paper I used was K&Co. The vintage little girl with the flag at the bottom was from Crafty Secrets, but check out the Vintage Workshop Blog for some similar freebies to download.


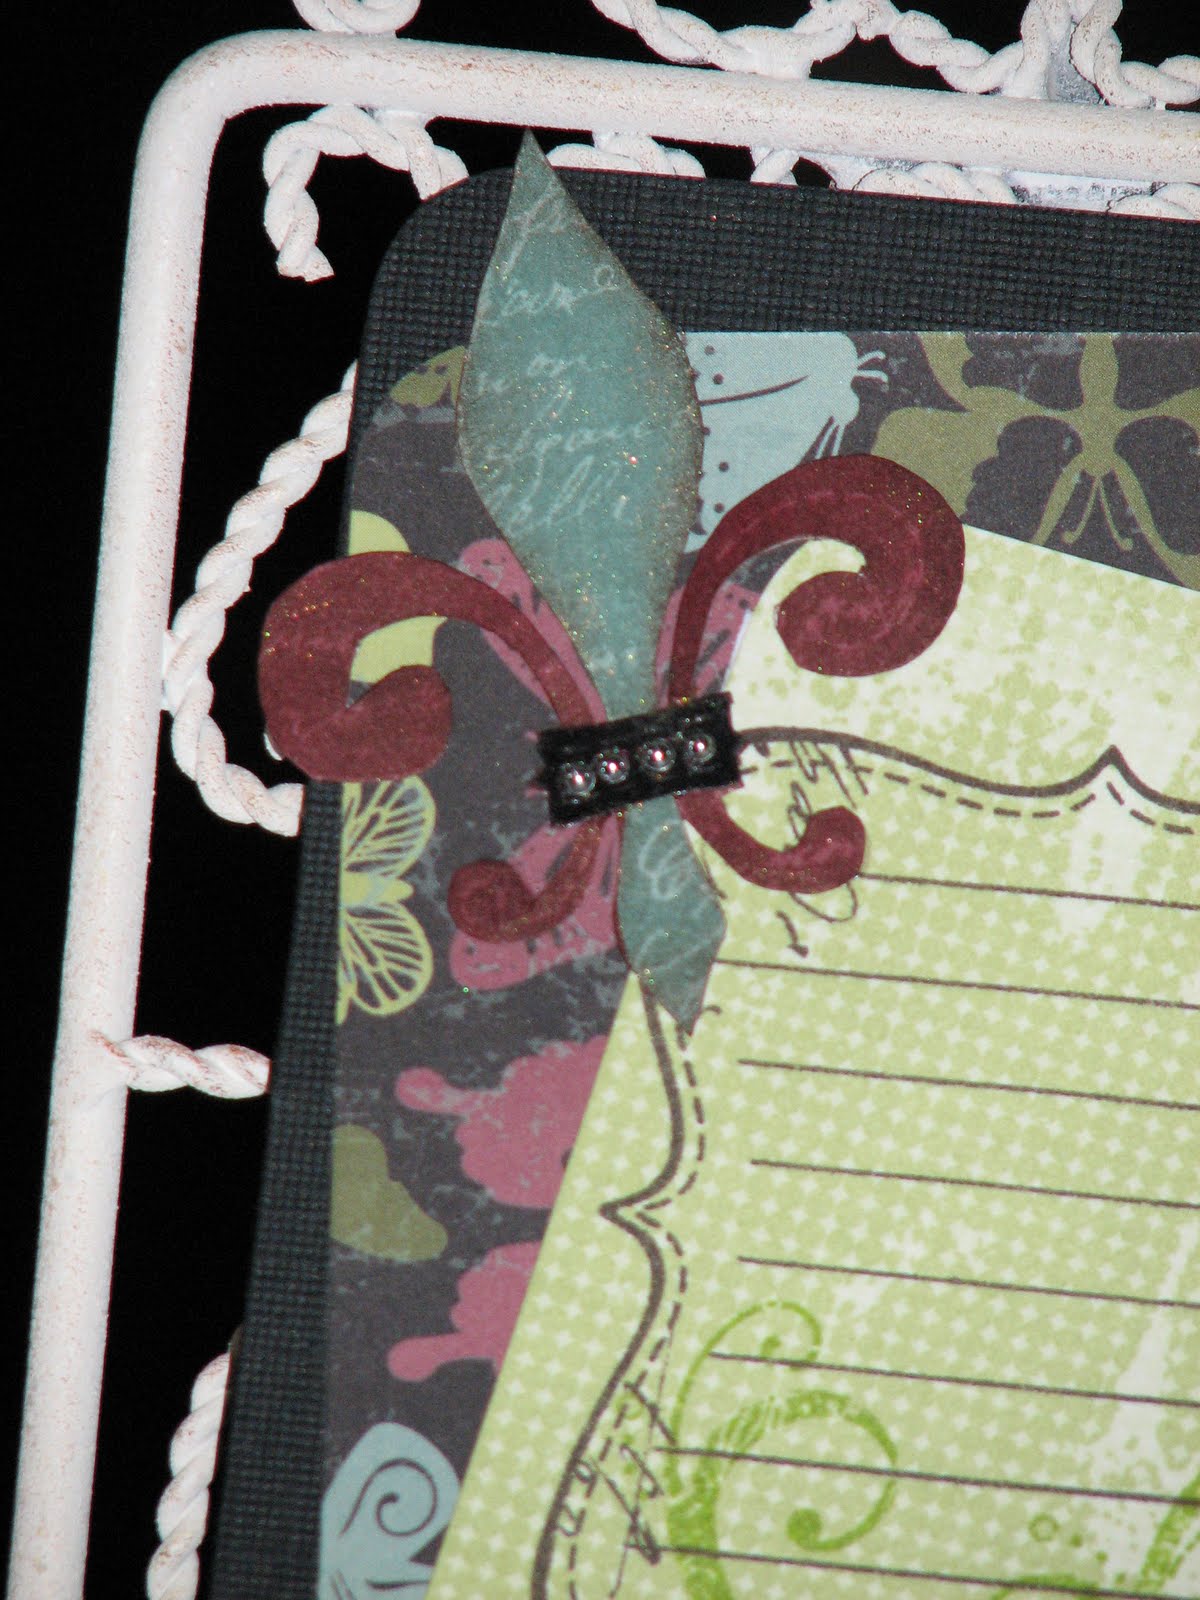
I swore I'd never share any of my "Sticker Sneezes" from my early days of scrapbooking, but here's one anyway. Vellum was a new thing back then and there wasn't any of the fancy vellum adhesive either, so you can see every bit of glue through my title and embellishments. The photos were taken on a visit to the USS Alabama in Mobile. My scrapping has come a long way since then, I HOPE!

Parked in front of Fat Boy's BBQ Ranch here in Prattville, we had an awesome spot to view the fireworks last year. I got some great shots during the evenings festivities. My photo tip...if you have a camera with a fireworks mode, use it. It certainly helped me get some uber shots.


This was our first year in Prattville. Our friends Jimmy & Kim came to visit. Keith fired up the grill and cooked his famous ribs. We then went to the stadium here in Prattville to see the patriotic program and the fireworks. The paper I used in this layout is actually a digital kit that I downloaded. I wanted some cool vintage flag paper and couldn't find anything in "traditional" scrapping supplies. If you print digital paper, it becomes "traditional" scrapbook paper...who'd have thought;) I wish I'd had more photos of the fireworks, but the camera batteries died about 20 minutes into the show.


Thanks so much for stopping by. I hope you enjoyed your visit. Card Class and Crop Info is below.


Card Class:

July 2nd, 2011

9:30 a.m. to Noon

We only have TWO spots available for the July card class. Please be sure to email me (sassyscrapperal@gmail.com) or leave a comment to this post if you wish to attend. We will be making Christmas cards, a fall/Thanksgiving card, and the most recent blog hop card (base & shade technique) with the pleated ribbon. We're going to have so much fun! The cost is $5 for materials. Everything is provided for you and you'll leave with five completed cards. Plus, there's door prizes!


Crop Info:

9:30 a.m. -6:00 p.m.

The crop is free, just please bring a snack to share. We have a ooey-gooey cake, queso dip and chips, and a pineapple upside down cake coming. Trust me, you don't want to miss the fun, food & fellowship with this awesome group of ladies. Bottled water will be provided. You're welcome to bring a beverage of your choice.


Location, Location, Location:

Messiah Church Fellowship Area

2072 Highway 14 East, Pratts Mill Shopping Center

Prattville, Alabama

We are located on the second floor - and yes, there is an elevator. The elevator is located between the stairwells by the gym and the loan company. When you exit onto the second floor, our door is directly in front of you. You can't miss it with all the lime green and hot pink tableclothes;)


If you arrive early and would like some coffee, be sure to stop over at The Special Grind. They have fantastic lattes and their daily brewed coffees are awesome too!


Until next time, Scrap Sassy!


Tuesday, June 14, 2011

Happy Blog Hoppin!!!

Welcome to the Studio!

We have another great installment of our technique blog hop. The topic is the “Paper Beyond Base and Shade Stamping” Technique as shown on page 11 in the CTMH Spring/Summer 2011 Idea Book! I promise it's not difficult at all. It's simply a two-step stamp process whereby one color is stamped to "color in" the image and the second "outline" stamp is stamped on top. Mostly, this is acheived with a base and shade stamp set and ink. If you want to really jazz it up though, you can use a dark color as your base and use a light colored embossing powder for your outline. It really gives you a lot of options to add character to your stamping projects.

This blog hop is a great big circle, so you can start wherever you want and continue through to see all the fabulous artwork incorporating this technique. If you would like to start from the beginning, please visit Debi's Blog. While there, you will also find a listing of all participants and their blog addresses if you should get lost or want to reference a blog along the way. There is also a list of the blog hop participants at the end of this post as well. Enough housekeeping, let’s get started!

If you are coming from Judy's Blog, you are on the right track! This technique is highlighted with the Bliss paper packet in the Idea Book, but you will find variations for its use throughout this hop.

If you would like to see details on the technique or my supply list, please continue reading below. If not, please continue onto Melissa's Blog where you will find some additional artwork highlighting this technique! Be sure to leave a comment and let me know what you thought of my variation and happy hopping!

I stamped my base flower in Honey and then stamped the outline in Smoothie. I used the same technique with the Garden Green for my little leaves and used Olive for the outline. I added a sentiment at the bottom in Cocoa. For a little fun, I pleated some ribbon. I'm participating in a card swap and all the cards must have pleating on them, so needless to say I'm on a pleating kick for sure;) I wanted to add just a little but of sassy to the card, so I included a rhinestone flower center and a button with twine tied into a bow. It's a super-easy, super-cute card to make, especially if you're pressed for time and need something really nice in a hurry.

Supply List: Friendship Blessings Stamps, D1191; Mayberry Level 2 Paper Pack, X7136B; CTMH Inks in Cocoa, Honey, Smoothie, Olive and Garden Green; Colonial White Button (bulk pack). Other: grosgrain ribbon, brown and white baker's twine, and yellow rhinestone.

Thanks for stopping by! Continue on to Melissa's Blog to continue the hop!

Here is the list of Hoppers:

1. Debi Barber – http://debiistheothersister.blogspot.com
2. Shirley Ross – http://momnmescrap.blogspot.com/
3. Neely Dean – http://neelydean.blogspot.com/
4. Judy Faye Garner - http://www.judyfaye.blogspot.com/
5. Kelly George-www.sassyscrapperstudio.blogspot.com. {YOU ARE HERE}
6. Melissa Robinson – http://mlisrobinson.blogspot.com/
7. Rebecca Sorge – http://beccascreativeplace.blogspot.com/
8. Teri Baxter – http://themidnightartist.blogspot.com/
9. Tonya Whitehurst – http://heartandsoulscrappers.blogspot.com/
10. Sheila Wilkerson – http://ezscrapbooks.blogspot.com/

Monday, June 6, 2011

Angry Birds and Christmas Trees

Welcome to the Studio!

I wanted to share some of the projects from our card class this past weekend. First, I want to share our Angry Bird card. My husband is totally addicted to this game and so are several of our friends. My friend Stephanie emailed me the picture of a card made by SewingStamper06 and posted on the Splitcoast Stampers site. It was so cute, we had to make one in our class. I was able to use Make The Cut software and create a cut file for all of the pieces. If anyone would like a copy of those files, please email me. I'll be more than happy to share them! The supplies used: blue sky paper, Michael's, Recollections; woodgrain stamp, Universal Borders, Close To My Heart; Chocolate ink, CTMH; Bazzill cardstock in brown, black, and Red Devil; CTMH cardstock in Garden Green, Olive, and White; rubber bands. The sentiment was printed with black ink and the cloud is a cut file from Silhouette and inked using CTMH Sky ink and a stipple brush.


This card just wouldn't be complete without an Evil Pig...


Origami Christmas Tree Card Instructions:


The sample of this card I'm using here is different from the color scheme we used in card class. I wanted to try something different from the traditional red and green to show how versatile this technique is. Here are the steps...

First, you will need four squares of paper to make the tree shown above. You can make your tree taller by adding more squares. The sizes are 3", 2.5", 2", and 1.5". You begin with your first square. You are going to fold it in half with the back of the paper on the outside after you fold it.

Unfold the paper, turn 90 degrees, and repeat the step. You will have a piece of paper with a "cross" pattern folded into it.


Next, fold the paper diagonally making sure that the side you want to show is on the outside after it's folded. You want to unfold your paper, turn 90 degrees, and repeat step.

Your paper should look like this:


Then you want to fold the paper so it makes a double triangle kinda shape. I'm not sure what to call it, so here's a pic...


Next, take one side of the triangle and fold it until it meets the center crease. It's hard to explain, much easier to see a photo;)


Repeat this step on the other side. When you do, you will have a section of your Christmas tree.


After you have all your pieces of paper folded, add a bit of glue of the back of each folded tree part and stack them together. It should look like this:


Next, just attach your tree to your card, tag or scrapbook page. You can also make a cute decoration by making two of these trees and gluing them back to back. Just insert a bamboo skewer or wire floral stem and put in a container.


I hope you enjoyed our cards today. Until next time, Scrap Sassy!

Wednesday, June 1, 2011

More Flowers & Card Class Sneak Peak

Welcome to the Studio!

I wanted to share a few more flowers I made with you guys. The first one I want to share is a shabby chic beauty that I plan to use on a wedding layout. My husband and I were married in 2003 and I'm still working on the wedding album. I had just begun scrapbooking about six months before and wanted to wait until "I was ready" in a skillfully creative sense to scrap what my mind envisioned. I'd like to think that I've come a long way from my early days of "sticker sneezes" and decorative scissors. I really want to get caught up, so I'm going to challenge myself to get two layouts a week done from now until the scrappy August fieldtrip to CKC-Nashville. I'll share some of my layouts too!


Back to the flower... it was made with ivory satin and lace. It was sewn together on the bottom edge for the full length. I then used hot glue and a paper-punched circle (about 2") to create the flower. I just kept going around and around pinching and pleating the fabric as I went and continuing to go into the center of the circle. When I felt the flower was full enough, I glued some pearls and other bling in the center. I wanted it to look really shabby, so I cut the edges of the fabric petals on a diagonal and made sure some of the fabric began to fray.


My next flower is a "loopy" flower. I took some lime green satin and folded it in half to make a tube. I added a stip of lace on one side and sewed the bottom. I then cut the lace and satin "tube" into loops. To actually make the flower, I used the same steps as above. For the center I added a Prima flower and a large pearl. I didn't have a project in mind when I made this one. I just love lime green;)


Card Class Sneak Peak...


I wanted to also share some of the projects we'll be doing Saturday, June 4th {That's this Saturday} in our 5 for $5 Card Class. See details at the bottom of this post if you'd like to attend. We will be working on a Patriotic card, a sympathy card, an all-occasion card, an origami Christmas card, and an Angry Birds card. Several of you have asked if we could do a card for all the "Angry" fans:)


I just LOVE, LOVE, LOVE the origami Christmas tree. I will post the instructions along with photos of the steps after our card class. It is a fantastic way to utilize all those little scraps left over from you Christmas layouts. It's even a great way to turn "non-Christmas" scraps into holiday cards!


Card Class and Crop Details:


Card Class begins at 9:30 and ends right in time for lunch. The cost is $5 and all class materials are provided. You only need to bring yourself. Class space is limited, so please RSVP to reserve your spot by posting a comment to this post or by email sassyscrapperal@gmail.com.


Our crop begins at 9:30 and goes until 6:00 p.m. You are welcome to crop during the card class. We have plenty of room to spread out and lots of outlets, so feel free to bring your techie scrap toys. The crop is free, but please bring a snack to share. Bottled water will be provided, and you're welcome to bring your favorite beverage.


The card class and crop is held at the Messiah Church Fellowship Area, 2072 Highway 14 East in Prattville, AL 36067. It is on the second floor of the Pratts Mill Shopping Center. And yes, there is an elevator, so you don't have haul your scrap stash up the stairs. The entrance to the elevator is between the gym and loan company. When you exit the elevator on the second floor, our door is directly in front of you. Also, The Special Grind is now open for business. I have sampled their coffees and smoothies. All I can say is YUM! The zebra mocha is to die for!


Until next time, Scrap Sassy!


Tuesday, May 24, 2011

Flower Power

Welcome to the Sassy Studio!


A few weeks ago, I was wanting some unique flowers for a scrap project. I found some gorgeous online made by Prima. They have an awesome selection of all types of flowers made from all types of materials. I really like using them, but they can get a bit pricey...especially when you can't find them locally and have to pay shipping too. That got me thinking though. If Prima can make them, why can't I? So I started looking for some information and ideas. I went to Etsy. Great flowers, equally expensive prices and shipping. My next stop was You Tube. They have more flower tutorials than you can imagine, with more being added daily. Here is my take on some of the ideas I found...


Lollipop Flowers:

These are so easy to make. Basically, it's just graduated sized circles of any material/media you can actually shape kinda like a circle. You can use tulle, netting, burlap, paper (both patterned and cardstock), mulberry paper, satin, organza, cardboard...well, you get the point. Here is what I came up with. I hope you like it.


I made these out of lime green mulberry paper. I used a water brush and "traced" a few sizes of Spellbinder circle dies. I then tore the moistened paper into these ragged circles. I glued them together with hot glue and stuck pearls, rhinestones, or other bling in the center. I then took them layer by layer and scrunched them a little with my fingers to give them some dimension. These are part of my "Oh, Lolly" Collection and the color is "Lime Fizz."


Fresh As A Daisy:


Daisies have such cute, little flower faces. I just love them. And when you layer multiple sizes, you get a cross between a ruffled daisy and petite mum. Here's my interpretation...


For these lavender beauties, I used Bazzill cardstock in a very light lavender color. To get the differing hues, I used a variety of Glimmer Mist and Sassy Shimmer Spritz (my homemade version of Glimmer Mist). For glue, I used either Scotch Quick Dry wet adhesive or hot glue, whichever was handy. To make the petals pop and look real, I bent each one while still damp from the misting and/or spritzing. After they dried, I used a rubber coaster (or a mouse pad would work too) and an embossing stylus with a very large ball. (You can find them with the clay tools in the craft department of your favorite hobby stores.) I rolled the large ball of the stylus around the middle of the flower and the petals begin to pop upwards or "cup." This technique is actually referred to as "cupping" on several videos I watched. I then finished up the flowers with some bling for the centers.

Read All About It...

I have to say THANK YOU to my friend Stacy for sharing some of her stash with me. She gifted me several sheets of this awesome dictionary/newsprint paper from Stampin Up. I totally LOVE it!!! I followed the same steps for these flowers as I did the lavender ones above. I used Glimmer Mist in Walnut Gold and Tattered Leather as well as my "Chocolatte" Sassy Shimmer Spritz. The bling used is the Mocha Opaques from CTMH.

Thanks for stopping by and visit again soon!

Saturday, May 14, 2011

Technique Blog Hop - Paper Piecing With Pizazz

Welcome to the Studio!

Thank you so much for visiting today. We are demonstrating the paper piecing technique on Page 27 of current CTMH Idea Book. This blog hop is a great big circle, so you can start wherever you want and continue through to see all the fabulous artwork incorporating this technique. If you would like to start from the beginning, please visit this Debi's Blog. While there, you will also find a listing of all participants and their blog addresses if you should get lost or want to reference a blog along the way. That list is also at the end of this post. Let’s get started!

If you are coming from Judy Faye's Blog, you are on the right track! This technique is highlighted with the Sophia paper packet in the Idea Book but you will find variations for its use throughout this hop.


For my project, I decided to make a journaling tag. They are popular and come in these really cute little booklets to match your paper and embellishments. I decided to make my own to match the Wings paper. My paper pieced object on my tag is the fleur de lis. I first stamped the image in Vineyard Berry ink onto Vineyard Berry Cardstock. I then cut out the image and distressed it with Chocolate ink. Next, I stamped the image on a piece of patterned paper in Twilight ink. From that image, I cut out the center of the fleur de lis and attached it to my original stamped image. Again, I distressed it with Chocolate ink. For the last step, using Versamark, I stamped a portion of the image on black cardstock and heat embossed it using Clear Detail Embossing Powder. I then cut the center rectangle out and attached it to my original image. I then added some silver studs for a touch of bling!

If you would like to see details on the technique or my supply list, please continue reading below. If not, please continue on to Melissa's Blog where you will find some additional artwork highlighting this technique! Be sure to leave a comment and let me know what you thought of my variation and happy hopping!

Supply List: Wings Level 2 Paper Pack x7135B , Vineyard Berry Stamp Pad Z2157, Twilight Stamp Pad Z2160, Black Stamp Pad Z2105, Pear Stamp Pad Z2197, Chocolate Stamp Pad Z2111, Versamark Stamp Pad Z891, Clear Detail Embossing Powder Z821, Colonial White Buttons (retired), Wings Level 2 Assortment Z1398, You & Me Stamp Set CC1012 (Available this month only!)

Thanks for stopping by! Continue onto Melissa's Blog to continue the hop!

Here is the list of Hoppers in case you get lost or if you'd like to revisit a blog! Hope you enjoy!

1. Debi Barber
2. Michelle Battitori
3. Neely Dean
4. Judy Faye Garner
5. Kelly George (You Are Here!)
6. Melissa Robinson
7. Rebecca Sorge
8. Teri Baxter
9. Tonya Whitehurst
10. Sheila Wilkerson
11. Amy Kaminski

Wednesday, May 4, 2011

How To Wrangle Your Ribbon, Plus Updates & Sneak Peaks

Welcome and Thanks for stopping by!

Mom and I (we share a scrap studio) have been struggling with storage woes ever since we began combining our stashes. Our ribbon has been a HUGE issue. We both love using ribbon on our projects and we can't say no to a Buy One Get One Free sale, $1 ribbon bins, etc. Well, we have LOTS of ribbon. It was stored in a eight-drawer rolly cart, four plastic divided organizers, two 36" dowels, four shelf wire rack...well, you get the idea. It was scattered everywhere, which made it really time consuming to look for a simple piece of pink grosgrain.

But there was hope (and help) around the corner. While surfing the web one morning, I found a post on Crabby Cakes Studio, http://crabbycakescrafts.blogspot.com/2011/04/ribbon-organizion-tip-by-ccs.html. It was a fantastic idea, and I just took it a step further. I used plain, old chipboard. Actually, the chipboard was separators that used to come in boxes of paychecks where Mom used to work. I got her to start saving them for me a few years before she retired, so we had quite a large stack. {Thank goodness, we needed them all!} I cut the chipboard down to 3x5 (index card size) and used the 4x6 clear zip bags from Hobby Lobby. We began the task of wrapping the ribbon onto the chipboard. We worked morning to night for two days solid and got everything on the cards and into the baggies.


We separated everything by color. This makes finding what you want really easy and these little baggies help keep the ribbon clean and on their card - and the pins used to secure the ribbon don't poke you either;) And as a added benefit, it's so easy to grab the packs of the colors you need and throw them in a crop bag. It's so simple, why didn't I think of this sooner?!?!


Since there are no spools, it save tons of space. We went from multiple storage options, including an eight drawer rolly cart, and was reduced to {drum roll please} one 3-drawer storage cube from Michaels!


This is truly a time and space saving option for those of us with tons of ribbon. We had 592 spools of ribbon (not including holiday ribbon) and look how easily and neatly it stores.


CKC-Nashville Update!
The class & activity list is updated and registration is open. There are some wonderful classes for scrappers and cardmakers no matter what your skill level. I will be taking several "how to" class on making flowers, using bling, and all things sassy;) I hope to be able to update my blog during the convention with pictures of the vendor hall, class projects, and all the goodies we purchase. Go to http://www.creatingkeepsakes.com/, click on events, CK Conventions, and Nashville to see all the info. I hope to see some of you there!


Card Class Sneak Peak!
Card Class & Crop is this Saturday, May 7th, at Messiah Church, 2072 Hwy. 14, Prattville, AL. Card Class begins at 9:30. It's $5 for 5 cards. Crop space is available during and after the card class. If you're cropping, please bring a snack to share. Bottled water will be provided. Feel free to bring soda or a favorite beverage.

Here's some things we'll be working on...