Showing posts with label cricut. Show all posts

Saturday, October 1, 2011

Christmas Card Blog Hop by CADB

Welcome to the Studio!


It's World Card Making Day, and to celebrate, the Card A Day Blog is launching a Christmas Card Blog Hop, but this is no ordinary blog hop. It will start today and continue tomorrow as a traditional blog hop, with some amazing blog candy being given away by everyone in the blog hop. We will have a wonderful grand prize that will include something from everyone in the hop. Each of our blog hop designers will choose something new from their stash {or handmade especially for the winner} for this grand prize that will be given away to the random winner of our blog hop challenge.

After that, we will continue by bringing you all types of Christmas cards {and gift card holders too} all the way to just before Christmas. We are doing this to give you lots of ideas for Christmas cards for you to be inspired and get those creative juices flowing in time for this wonderful, and hectic, time of year.

Thank you so much for hopping along with us! I’m excited to be a part of the CABD Christmas Card Blog Hop. This blog hop is a great big circle, so you can start wherever you want and continue through to see all the fabulous cards. If you would like to start from the beginning, please visit Karen's Blog. Also, at the bottom of this post, you will find a listing of all participants and their blog addresses if you should get lost or want to reference a blog along the way. If you are coming from Janet's Blog, you are on the right track.


I was cleaning out my Christmas pattern paper scrap bin and found some little strips of striped paper. I love the CTMH Mistletoe line (it's retired, sniff) and I didn't want to let any of it go to waste...and this is what I came up with.


This is just your standard A2 card. When you're making a bunch of cards, like for Christmas, it's a fast and easy size, just cut an 8.5 x 11 piece of cardstock in half lengthwise. Another tip for "bulk" handmade cards is to do them in an assembly-line style. Cut all your bases first, then cut all your pattern paper strips, punch all your border pieces, etc. until you have all the pieces ready to go, then it's just an easy, slap-them-together session that can be done in no time while at a crop or during a scrappy playdate with friends.


For my card, I rounded the edges with a corner rounder and I ALWAYS ink the edges. I don't know what I did with myself before I discovered sponge daubers and ink pads. I used CTMH Topiary and Cranberry for the inking. I embossed the Topiary cardstock with a Cuttlebug embossing folder. I cut the border strip from Cranberry cardstock with a Fiskars border punch. I made sure to attach my crocheted lace to that piece so I could hide the "ribbon bits" behind it. The "Happy Holidays" was heat embossed with CTMH Cocoa embossing powder. That stamp is from a set that came from Oriental Trading.


Now, for the holly. If you've been visiting my blog for any length of time, you've probably realized there's usually something "wonky" with some part of the projects I share. Well, the "wonky" is that I wanted to use these little dew drops that I found on clearance at Michael's a while back. They were REALLY cheap and I bought a BUNCH; however, they did not have any in red. These started out clear. So how did they end up red, you say? I used a standard size hole punch and punched out lots of these little red circles. I then used Diamond Glaze (just a teeny, tiny drop) to attach them to the bottom of the dew drops...and viola, shiny, round holly berries. The holly leaves were really easy. I cut them out using Make the Cut and my Cricut. The shape was downloaded from the Silhouette store, and of course, I inked them;)


My Supply List:

Cardstock: Kraft cardstock, Michaels; Topiary cardstock, CTMH; Cranberry cardstock, CTMH; Garden Green cardstock, CTMH.
Patterned paper: Striped from the Mistletoe Collection, CTMH.
Stamps: Christmas Carols set, Oriental Trading.
Ink: Versamark; Topiary, CTMH; Cranberry, CTMH.
Ribbon: crocheted lace, misc.
Adhesive: Glue Glider Pro High Tack, Glue Arts; ScorTape, ScorPal; Diamond Glaze, Judikins; Fast Grab Tacky Glue, Aleene's.
Embossing powder: Cocoa, CTMH.
Electronic cutter: Cricut Expression, Make The Cut Software (MTC).
Cut files: Holly, Silhouette.
Embellishments: dew drops, Recollections.

Thanks for stopping by! Please continue onto Michelle's Blog where you will find even more ideas and awesome artwork! Be sure to leave a comment and let me know what you thought of my card.

Wanna win some blog candy? It's easy. All you have to do is follow me and leave a comment. A winner will be chosen at random. Thanks again for stopping by and happy hopping!

More chances to win even more blog candy:
CABD CHRISTMAS CARD BLOG HOP CHALLENGE
Join in the fun and submit your own Christmas card for our challenge. The challenge will run from now until midnight October 3.

A two-day extravaganza of Christmas Cards and prizes.
Each of our designers will be choosing something special for our followers and adding it to the grand prize package. You will receive something from each designer.
To join in the challenge, create a Christmas card and post it on your blog.
To qualify, you must be a follower of our blog and you must then include a link to our blog in your post. Please link to http://cardadayblog.blogspot.com (if this text is not included in your post, your submission will be rejected).
The winner of the prize package will be selected at random at midnight on October 2. Check back here on October 3 to see if you have won!!!

As promised, here's the hopping order in case you get lost along the way or want to refer back to a blog…
Karin Adamczyk, ScrapperCreations
Adele Robbetze, Nogards Creative Cave
Christine Patton, Creative Genie-ous
Cindy Foster, Cindy's Creations
Cindy Pointe, The Creative Pointe
Janet White, Stamping At The White House
Kelly George, Sassy Scrapper Studio (You’re Here!)
Michelle Hessler, Paperthreads
Patricia Logan, MDN Creates
Shelley Bordeleau, Gardens Crafts 'n' More
Tina Campbell, Tina's Scrap Corner
Vicki Schram, Paper Squirrel

Hope to see you again soon. Until next time, Scrap Sassy!

Wednesday, April 6, 2011

Girly-Girl Chic Cards

Hi Everyone! I can't speak for you ladies, but I truly enjoyed our card class & crop on the 2nd. Thanks so much to all of you who attended. It's really a positive and inspiring group of scrappers. I look forward to seeing you guys again next month, as well as some new faces too! I've been playing catch-up this week on some Easter projects and cards. I've also been working on a birthday card for my Dad which I'll need in early May. I've also been putting much thought into next month's card class and what kind of scrappy, sassy awesomeness I can share with the attendees and my blog followers. I'm definitely going to be putting some effort into masculine cards for Father's Day. I always find them to be a real challenge. It's not like flowers and sparkles work on a card for Dear Ol' Dad. But they certainly work on these super cute girly-girl cards I wanted to share with you.

If the shoe fits...

This card was made by my mom, Joan. She's been on a bold & bright kick lately. I think she's been trying to chase away the gloom of winter;) She used flocked zebra paper and black grosgrain ribbon for texture. For sparkle, she used various colors of Stickles. The shoes are available for download at the Silhouette site. The "Hey Girlfriend" tag is from Lettering Delights and is part of the Delilah Tags collection.

I made this card and "handbag" set for a friend. The little purse is perfect for some devilishly good chocolate or a giftcard to a fave shop. The purse is from the Cricut cartridge Tags, Bags, Boxes & More and the little monogram is from the Jasmine cartridge. {Yes, even though I'm boycotting PC, I still find myself using my old cartridges.} The paper for this project is the Anna Griffin Peyton collection. I wish they would keep making this one forever. I don't think I'll ever tire of it. This card was made using the Peyton collection as well. I added a lot of bling, including a special CTMH giveaway from sometime last year. It was a set of three bling shapes, a bracket, a square, and a circle. I have to admit that as much as I liked them, I was a bit intimidated by them. I finally got my nerve up to use them and I adore the outcome. So here's a challenge for you, dear readers... Go through your stash and find one product that you like/love but are intimidated by. That even includes "the pretty paper." I challenge you to dance beyond your comfort zone and try something new. We'll have a "show and tell" session at our crop on May 7th. Until later, Scrap Sassy!

Saturday, March 19, 2011

Provo Craft vs. Make The Cut...And WE Lose!!!

Welcome to the Studio!

Unfortunately, I have some bad news to share. Provo Craft (manufacturer of Cricut) has sued the owner(s) of Make The Cut. Due to a settlement in the case, NEW UPDATES of Make The Cut will not work with ANY CRICUT machines.

A little good news...if you have downloaded MTC prior to this week (Version 3.2.1 or lower), you will be able to use it on your Cricut as long as you do not update your Cricut firmware (Expression/Cake Version 2.34 or lower). Even if you only downloaded MTC's trial version, you can get the registration code and it will continue to work with your Cricut as long as you DO NOT UPDATE! So at least some of us can continue to cut to our heart's content for the time being. However, if you purchase any of the new cartridges that are being currently released, they may or may not work without updating the Cricut firmware. If I find out for sure, I'll be sure to post the info. Older cartridges are not affected.

My Two Cents...
This is only my opinion and it's the basis for my choice to boycott Provo Craft in the future. You should make whatever decision is right for you. I feel that I paid for my Cricut with my hard-earned money. It's mine, period. I also bought a printer and a scanner a few years ago. They are mine, period. All three of these products hook up via USB to my computer. My printer manufacturer does not tell me what I can and cannot print, nor does my scanner manufacturer limit what items I can scan. What right does Provo Craft have to tell me what I can and cannot cut or what program I can or cannot use to cut those items. I enjoy designing my own creations to cut out. Provo Craft's Design Studio does not give you that freedom. You are limited only to the cartridges they sell and that you own. I have about 20+ cartridges that I use occasionally. Most of them I purchased for a specific layout/album I had in mind. I like them, but even using the Gypsy, I still cannot manipulate the shapes to create what I want.

Pursuant to Provo Craft's choice to "attempt to stifle my creativity," not only will I not purchase ANY of their products in the future, including blades and mats - and yes, I can still get blades - but I am currently saving up to purchase a new cutter. I have been researching what's on the market and I have my eye on a Black Cat Cougar. The Lynx model is also pretty sweet. {link on side} That company is working with Make The Cut, as opposed to suing them, in order to grow their business and bring smiles to the faces of thousands of papercrafters around the world.

Thanks for listening to my rant. If you have any questions about MTC and your Cricut machine, please don't hesitate to email me. If I can't answer your question, I know several people who can.

Until next time, Scrap Sassy!

Wednesday, March 9, 2011

March Card Class, Crop & Cricut Swarm

Hello Everyone!

Let me begin by saying I had a wonderful time meeting with and scrapping with all you scrappy gals on Saturday. We added a few new friends this month...Welcome Tanna, Esther, Crystal, Julia & Julia. We look forward to seeing a lot of you - and your awesome projects too!


(Scraptastic young ladies, Julia & Julia.)

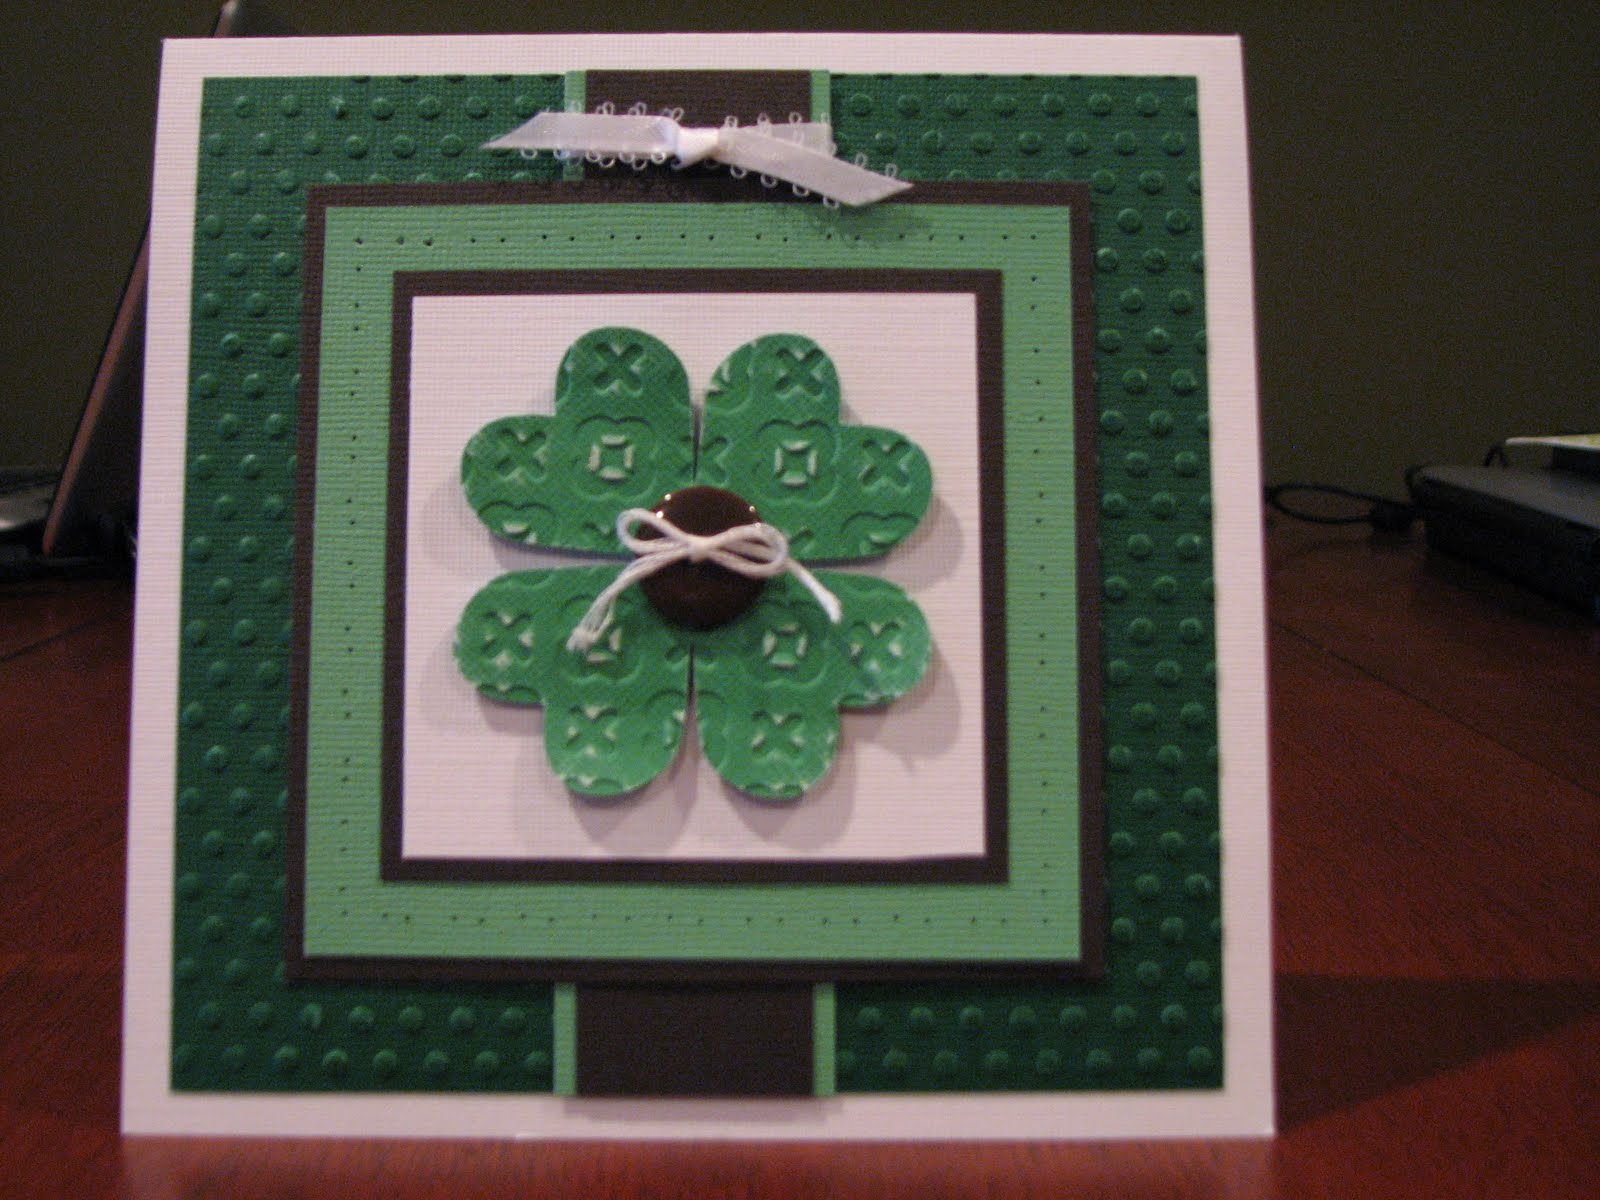
Our theme for card class this month was "Going Green" in honor of St. Patrick's Day later this month. Every card we worked on focused on multiple shades of green and all things lucky. Two of our projects were this shamrock card and the vellum "I'm so Lucky" card.


During card class, Joan (aka Mom, aka Dear Joan) taught everyone how to make a waterfall card. Here are some pictures of the sample we had. If you'd like directions, please email me or leave a comment containing your email address and I'll be happy to send them to you.


During our Cricut Swarm, several of us ladies learned & shared tips and tricks for using Make The Cut software with our Cricuts.

I can't wait until April's Card Class & Crop! We'll be working on some Easter cards and maybe even a Mother's Day card. I'll try to get some samples up before April 2nd.
I've also been inspired by Tanna to work on some of my Disney/Epcot photos (from 2005) as well as some cruise photos (from 2008). Better late than never; right? I'll be posting some more layouts soon. I'm also going to get to finish my wedding album (we'll be married 9 yrs. on the 22nd), the mini album of the scrappy trip mom & I took in 2007...
Until next time, Scrap Sassy!

Wednesday, February 23, 2011

Has Spring Sprung?

Is it too good to be true? Could all the icky, snowy, cold weather be over? Even if it isn't, there's a page in my scrapbook where it's always springtime. Keeping in mind that I'm way behind on my scrapping, these photos were taken back in 2004 when my husband and I went on a mini vacation for our one year anniversary. Keith is a dynamo with a camera. He took the three square photos of these beautiful pink lilies.


I bought some Basic Grey paper a while back and I've been dying to use it, but didn't know with what. This is the Sultry collection. Don't you just love the colors? They just scream happiness and spring to me. I wanted to play with my iRock tool, so I added a swirly-curly photo corner with some bling. I needed a floral embie for my page and since I didn't have a silk lily on hand, I decided to make one out of paper. I used a Heartfelt Creations leaf die to cut the individual petals. I inked, stippled, and dotted the leaves, then I added LOTS of "Sassy Shimmer Spritz" in Sassy Hot Pink. (The recipe is on a previous post.) I used Art Glitter Designer Adhesive to hold the green beads and the stamens in place. It dries totally clear. Need easy flower parts, check the bridal section at your local craft store for stamens.


Other projects on my scrapdesk at the moment include a pumpkin carving layout and three really cool card class projects. Don't forget, card class is March 5th at Messiah Church in the fellowship area from 9:30-11:30. Don't miss out on the fun. RSVP today by email or just comment on my post. We'll also be cropping from 10-6 and I'll be hosting a Cricut Swarm and doing a tips and tricks session as well as a Make the Cut demo. Wanna learn to make some awesome flowers? During the crop, I'll be doing a few flower tutorials as well!

Tuesday, December 28, 2010

Christmas Card Idea #9...An Ornamental Idea

Welcome Everyone!

I hope you've all had a scraptacular Christmas. I know some of you got digital cutting machines from Santa this year. Congratulations on starting the next level of your scrapping addiction!

Although I've had a Cricut Expression for a few years now, Santa (aka Mom) felt I needed one that matched our Sassy Scrapper Studio, so I'm the proud owner of a LIME GREEN Cricut Expression. I absolutely LOVE it and the newly released version of Make the Cut. And not to sound snotty or anything, but now I don't have to share a machine. Mom has one of her own now:) It can be quite tricky coordinating Cricut time when both people are cutting fools like we are!

Now on to our Ornamental Idea...


As much enjoyment as I get from using all the scrap tech that's available to us, it's always nice to go back to the tried and true techniques, like stamping. For these cards, I used both the CTMH Adornments stamp set as well as a Stampin Up ornament set. And no, I don't believe using the two together is some type of scrap-blasphemy:) It's impossible for one company to make everything, so you have to mix it up to get the look that makes YOU happy. Because after all, that's what matters; right?

I began with a card base in red. I used a piece of ivory cardstock as a matte, cutting it the same length as my card base. I then used a Martha Stewart border punch on the edge. I cut a piece of patterned paper and adhered it to the top. The finishing touch for that portion of the card is a piece of CTMH ribbon in a soft gold color. It's only available in the Mistletoe Creative Basics set.

Now, here's the coolest part of all. Do you need at least 30 or more Christmas cards every year? Between my husband's co-workers, church friends, scrapping friends, and family, I need a bunch. But why strain the budget? I purchased the patterned paper I used for this project at Hobby Lobby on clearance. It's made by Paper Studio, and for the insane price of 17 cents per 12x12 sheet, you can get lots of cards done cheaply. Now is the time to start combing the clearance racks both online and at your favorite stores. Some really cool Christmas papers will be on clearance soon after the holidays!

Enough about my bargain hunting skills. Let's get on to the stamping. I used a piece of ivory cardstock scrap. I cut it to the size I needed and stamped my three ornaments in red to mimic the patterned paper being sure to go off the edges with some of the images in order to get the effect I wanted. I then used black ink to add my strings and green ink to add my "So Blessed" sentiment. I then matted it with dark green cardstock and adhered it to my card. Quick, simple, and inexpensive...the makings of an awesome Christmas card.

Here is another sample of the same card. I changed it up a little because sometimes it gets a little tedious to repeat the same card over and over.


I hope you found both enjoyment and inspiration. Have a Sassy Scrappy Day!

Saturday, December 18, 2010

Christmas Card Idea #7...Let it Snow!

Don't you just love snow? Living here in the south all my life, I've had very few occasions to see snow. My husband, whose from Indiana, laughs hysterically at me because I get so excited when I see snow, no matter how small the amount. As we were leaving the grocery store last weekend, and as we were loading up our van, "The Scrap Mobile" (aka The Loser Cruiser) the flurries began to fall. I was hopping around like a four year old gleefully proclaiming, "it's snowing, it's snowing!" I wasn't the only one either. There was another lady the parking lot standing outside her vehicle, arms outstretched, attempting to catch snowflakes in her mouth. Needless to say, my DH, Keith, found this spectacle completely hilarious. He also made fun of me the entire ride home.


But seeing a few flakes fall really put me in the mood to make a few warm and cozy snowy cards.


For these two cards, I cut a snowflake out of craft cardstock using my Cricut Expression and Make The Cut (MTC) software. The snowflake itself is from the Silhouette store. I created a cut file in the MTC software to cut out the entire rectangle and snowflake portion. I then used a scrap of patterned paper behind the snowflake cutout. A bit of distressing with CTMH Chocolate ink and a sponge dauber gave it a kind of rustic, cozy look. I added a piece of embroidery floss for an extra dash of color. You can even use different shape cutouts like stockings, a wreath, an ornament.


Thanks for stopping by and have fun creating!

Saturday, December 11, 2010

Card Idea #5 - Happy "Ho Ho Ho" To You!

Hi Everyone!


It's time for another sassy card idea. I was up in the scrap studio listening to Christmas carols and singing along with Harry Connick, Jr. I grew up in New Orleans, and Harry, Jr. is a staple, kinda like red beans and rice. I got in a really whimsical mood while jamming out to "Must Have Been Ol' Santa Claus" and decided on this really cute and glimmery idea.


I started with a plain white card blank and ran it through my Cuttlebug with an embossing folder. After that, I used Glimmer Mist in Marshmallow to add a little zing to the plain white cardstock. (It's a little hard to see in the photos.) I added a strip of Heidi Grace shimmer patterned paper that I found ages ago at Big Lots. It was 25 sheets for $2. How can you beat that?


The other cardstock is Bazzill Bling. I used a Spellbinders label die. The rest was cut and/or drawn with my Cricut. The "Happy Ho Ho Ho To You" was typed into Make The Cut software with the bezier warp function. I put a black pen where the blade goes and it "wrote" my sentiment. Without unloading the paper, I replaced the blade and cut the circle around my writing. That was such a fun technique, don't be surprised if you see it again;)


The Santa hats are from the Quickutz Silhouette Jingle CD. The pink cardstock is from a Quickutz adhesive paper pack. I then ran it through my Cuttlebug for some texture and used {GET THIS} some pearl cream rub on. Think creamy eyeshadow for paper. It's a really OLD product. It was popular when I first started scrapping about eight years ago. I'm not even sure if it's still on the market. I used sticky paper (http://www.pkglitz.com/) and my soon-to-be famous Snow Angel flock and glitter mix on the hat band and pom-pom.

This is a very whimsical, girly, sassy little card that makes a wonderful girlfriend card. It's also great for a giftcard holder. The design is so easy, making a matching gift bag would be a snap too. Hope this is inspires you in your seasonal pursuits.

Have a Sassy Scrappy Day!

Thursday, December 9, 2010

Christmas Card Idea #4...O, Christmas Tree!


I was working in the Sassy Studio yesterday coming up with some cool card designs and everything I did had a tree on it. I guess you could say I had a "Tree-mendous" day. Okay, enough with the silly puns. I made two versions of the same card design. Here's the initial design...


I'm still using the CTMH Mistletoe collection. I promise I'm going to be change collections real soon. There's some Basic Grey calling out to me from my stash. This is a tricky little tree to make, but once you get the hang of it, it's easy. It's just a folded half circle. If you're using a cutting system like Coluzzle or Creative Memories, you can cut a whole circle and then cut it in half on your trimmer. Then you have enough for two cards. That's like multi-tasking :)

For the bow (and this is SOOO SIMPLE), just take a length of ribbon and make a double loop (four loops total). This is a NO TIE bow! Hold your pieces together in the middle and insert the ribbon in between the prongs of a brad. You can also use a button and baker's twine or embroidery floss. You would do that by taking the floss/twine and making a knot around your ribbon loops, thread the floss/twine through the button holes and tie a double knot or a bow. Both ways look really cute.

If you'd like more detailed instructions or a folding diagram for the Folded Christmas Tree, please email me or leave your email in a comment.

Now for the second design...


For mass production or the folding-challenged (and I'm one of them), I replaced the folded tree with a diecut tree. These trees are in the Silhouette store. You can cut them out with the electronic machine of choice. I always use my Cricut. I also added a bow to the side for a little different look. (I added the ribbon to the card and then tied a separate piece into a bow and attached with a glue dot.) The shaped layer is one of Penny Duncan's Shaplies sized to fit the card, which you can download for FREE at http://pennyduncancreations.blogspot.com/. It's cut out of plain CTMH ivory cardstock. I took a sheet music background stamp and stamped it in CTMH chocolate ink. I then too a sponge dauber that I'd been using, and without applying more ink, I smudged the edges for a distressed look.

Thanks for stopping by and have a Sassy Scrappy Day!

Monday, December 6, 2010

Third Day of Christmas Card Idea and a Shout Out

I just want to say THANK YOU to all the wonderful ladies that attended the card class and crop on Saturday. We had such a good time! I just love getting together with you all.  Sadly, we're not meeting in January, since the first Saturday in January is New Year's Day.  Being dedicated scrappers, we need to be with family and friends taking pictures and making memories to preserve; right? We'll be meeting again on February 5th, 2011 and there will be some scrap-a-riffically sassy Valentine's Day cards and projects.  I'm so excited I can't wait!


Now on to the matter at hand, our Christmas card idea...

I just adore the new CTMH Mistletoe Paper Pack that's available this year. It really has an old-time, traditional, country Christmas kind of feel to it, and it's perfect for a distressed card or layout design. I used an edge distressing tool to "rough up" the edges, added cranberry ink (with a dauber) to the card base for a little extra touch, and a button with gold ribbon. The card's finished size is 4.5 x 4.5. I just love square cards! I think they're cute, cute, cute!  Another idea would be to use burlap as a photo corner or instead of paper or jute for a bow.  That would give the card a old-fashioned, country feel.

Since I've been really late getting my posts up, I figure you guys deserve a little bonus for being so patient. Here is a layout I finished recently about my husband, Keith. He loves stocking stuffers, all those little silly, cheap gifts like oranges, chapstick, bags of walnuts, socks, pens, candy. I've even put his favorite year-round dessert, Cinnamon Pinwheels, stored in a tin inside his stocking. Last Christmas, while Mom and I were shopping at Kmart, we found this ridiculously large stocking and decided Keith had to have it. We stuffed it with everything and anything we could find, Alabama championship t-shirts, a huge pack of shop towels from Sam's, you name it! And I used my Cricut to create a tag in just the right size for this HUGE stocking.

I used papers from two of Basic Grey's collections, Dasher and Fruitcake.  I just love the distressed look of the papers.  I don't have to do anything to them :)  The acrylic frame and poinsettia are from Making Memories.  I found some olive green silk ribbon which I attached to a chipboard tag.  It was raw chipboard that I painted to match my page.  I stamped the word "Christmas" on it with brown Staz-on.  The journaling block is a stamp from Making Memories.  I stamped on white paper, then distressed with a stippling brush with both blue and brown ink.  I added an American Crafts chipboard tag as well.  The satin stocking is an ornament from Wal-mart.  I like to look in places other than craft and scrapbooking departments for embellishments.  The title "Stuffed" is chipboard glitter letters from Target's $1 bin.  I always make sure to stop by Target at least once a month to see what's new in the bargain bins.  I almost never go away empty handed.  The last time I was there, I found lime green metal mesh wastebaskets for $2.50 each.  They are perfect for my scraproom.  I have two!

Thanks for stopping by and I'll be back soon with more sassy scrapper fun!


Monday, November 22, 2010

It's Time To Shop!

Hi Ladies!

Black Friday is right around the corner and there are all sorts of sales for wonderful scrap goodies. Here are a few of my favorite sites to visit -- and some are FREE!

www.customcrops.com is having their annual "Pink Tuesday" sale starting at midnight. They've had a few sneak peaks of bargains and the savings will be HUGE! If you need Cricut cartridges and accessories, they have some hard-to-beat prices, not to mention no crowds, no sales tax, and free shipping (over $100.) They also have Cuttlebug accessories, especially the new Sizzix Basic Grey Christmas dies and embossing folders. OMG, they are all soooo cute! I love the little reindeer! And I just can't get enough Tattered Angels Glimmer Mist.

www.letteringdelights.com is for font mavens and digi scrappers. They have tons of great stuff. You can use LD clipart for print-and-cut with both Silhouette Studio and Make the Cut. I've gotten a lot of my fonts from this site, especially during Dollar Days. The special currently is for new customers. Subscribe to the newsletter and get free fonts! How easy is that?

www.svgcuts.com is the place to go for .svg files to use with Make the Cut and Sure Cuts a Lot. I recently downloaded the cutest set of Christmas pop-up cards. The Cricut does all the work cutting everything out and you get to wow friends and family with your awesome craftiness!

http://skhedrdesigns.blogspot.com is the "go to" place for FREE downloads. She is very talented and has tons of .svg files. I recently downloaded some Christmas borders that I can't wait to get on my pages this season. I'll be sure to post some of my Holiday creations soon!

www.dafont.com is where I go for FREE fonts. I have approximately 2,000 on my computer and don't know what I'd do without them. Silhouette Studio users as well as MTC and SCAL users can cut all True Type fonts. The possibilities for titles and home decor are limitless.

http://pennyduncancreations.blogspot.com is truly a remarkable site. All the downloads are FREE, but I like to leave a little love in the form of a donation (via paypal) because she is such a talented artist. You can download her cut files in almost any format (GSD, DXF, SVG, MTC to name a few). And if you like all those Spellbinder dies and can't possibly afford or store all of them, she has another option. They are call Shaplies, are similar to the Spellbinders, and all you need for storage is a little space on our computer. Those cut files are free as well and come in several formats, even GSD for your Silhouette peeps out there. I downloaded the Christmas ornament Shaplies and I can't wait to use them. They're going to make great "bling-y" gift tags!

www.fontgarden.com is also a free font download site. They have a lot of handwritten fonts, which is great for those of us who want the look of handwritten journaling - just not our own;)

Thanks so much for stopping by. If you have any questions, please feel free to comment or drop me an email.

Until next time, Happy Thanksgiving to you and your families.